Stop guessing and start stitching perfectly! Learn the 5 critical steps for professional embroidery digitising. Our guide breaks down how to move from artwork to flawless stitch file, focusing on mastering underlay, density, and pull compensation. Implement this proven workflow today to eliminate fabric puckering and ensure every machine embroidery design is clean, durable, and production-ready.
Digitizing, in simple terms, is the process of modifying and converting a design into a format that can be used for embroidery. In the past, digitizing was a challenging and complicated job, but now, with the use of software and new hardware, it has become simpler and more refined.
The digitizing word originated from the simple meaning “Creating Digital Formats”. One can follow various steps to create the best possible designs. The digitizing process involves multiple steps that, if followed accurately, will provide the customer with the best results. Anyone from a big business to a small business or an individual looking to create some embroidery should follow the proper steps to get the desired results.
Now let’s talk about what these steps are.
Step 1: The finished Design
 Once we decide to proceed with a design and create embroidery for it, we need to ensure the design is fully finished and clean. The design should not only be drawn on rough paper and passed to the digitizing company, but it must also be confirmed as the final product, ensuring all colors and lines are properly marked.
Step 2: Choosing The Right Company
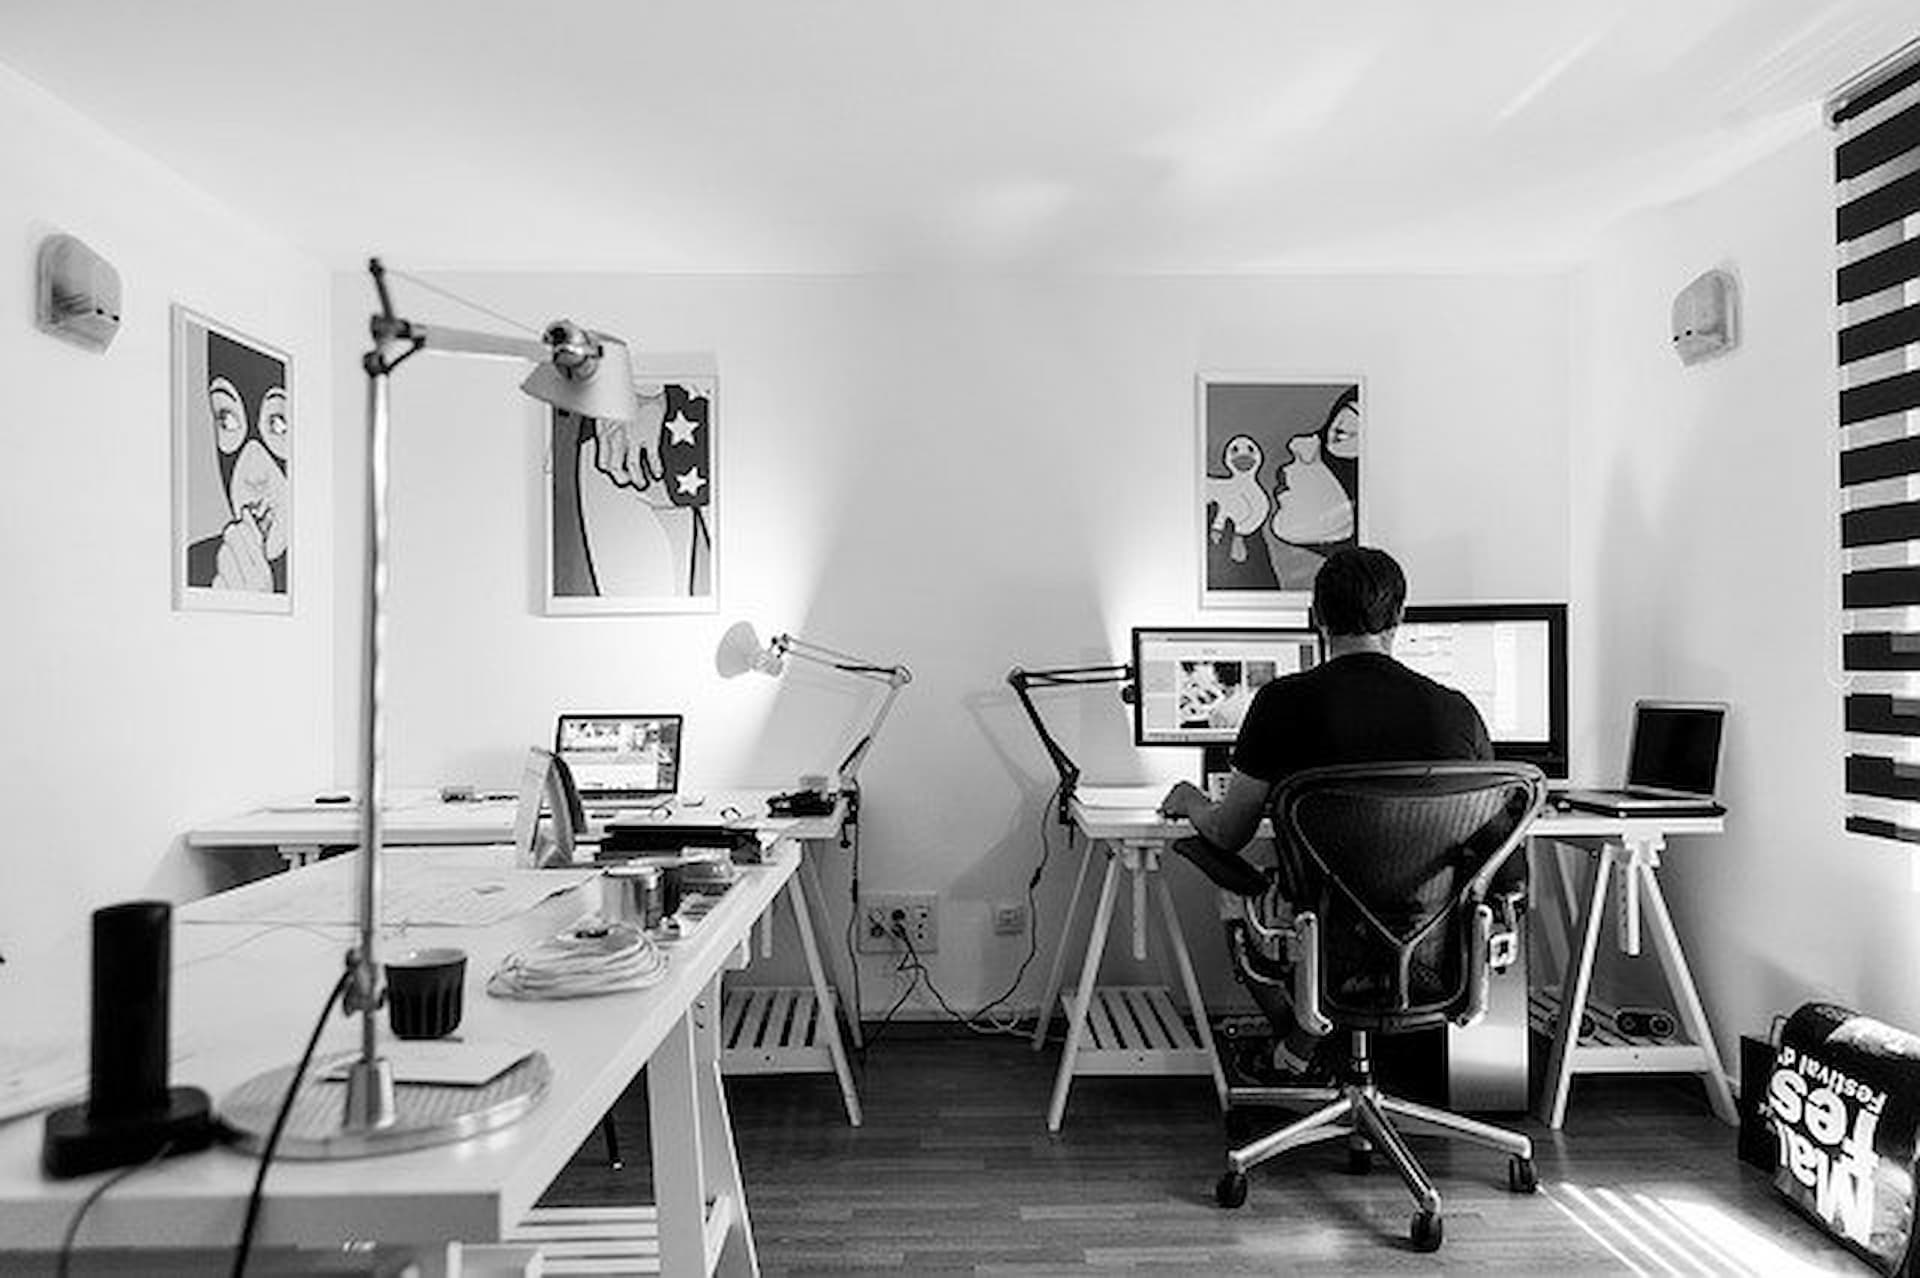
The most crucial step during the process is to choose the right company or software if doing it yourself. When selecting an embroidery digitizing company, ensure you have done thorough research and that the company has been in business for a while. This will help them share their experience and use your design to deliver the best results. There are a few points to consider when choosing the company.
- The company’s turnaround time is significant; this will help you decide on the timelines for your project.
- Free Edits – Check with the company if you are not satisfied with the result, and see if they will provide you with free edits until you are satisfied.
- Method of payment – this should be checked well in advance, before even sending the designs to the company. As some companies might not prefer your mode of payment and this can later create a hassle for the customer and the company.
- Support centre – Make sure to check the support helpline of the Embroidery Company, as this would be important if you need to get any free edits done or change something with the order.
At Megri Digitizing, we ensure we follow all relevant and necessary guidelines for our customers.
Step 3: Providing the Right Information
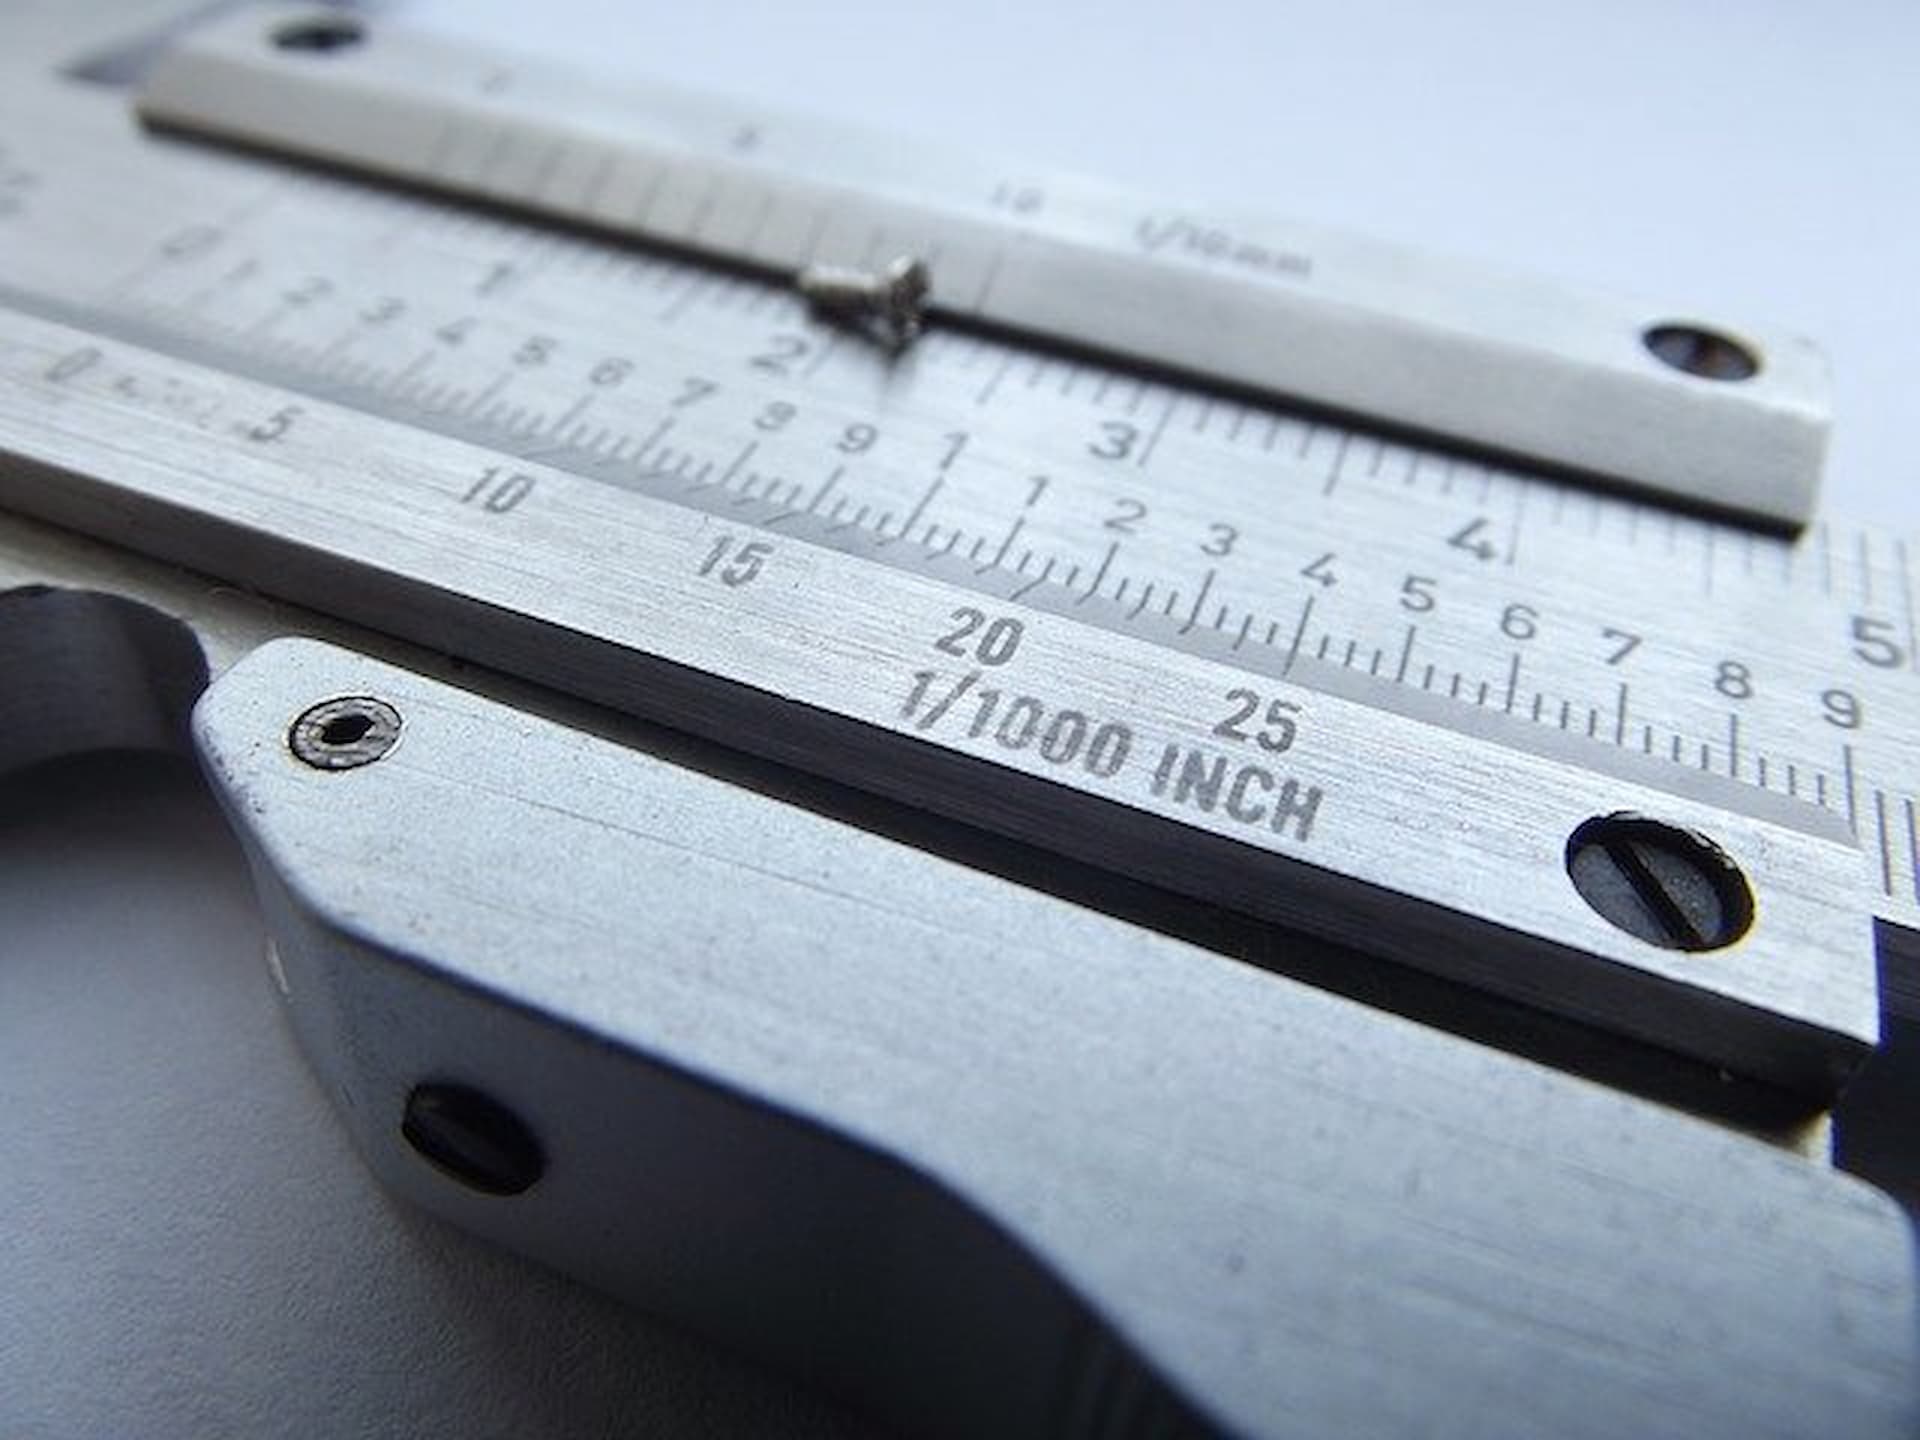
This is another essential step to consider when thinking of getting your artwork digitized. When getting the artwork done, it is necessary to provide the correct dimensions to get an accurate estimate for your design. Also, make sure to provide the best possible image with the highest resolution, as some photos can be complicated. Without providing the best quality image, the design cannot meet your requirements.
Step 4: Check your files when received.
Once you have received the files from your supplier or the digitizing company you have chosen, make sure to check them for any required edits. This can be best checked by looking at the PDF, which will exactly show how the design is created. It will also include the total number of stitches for each design, and if you are looking for the correct color codes, they will be mentioned here as well.
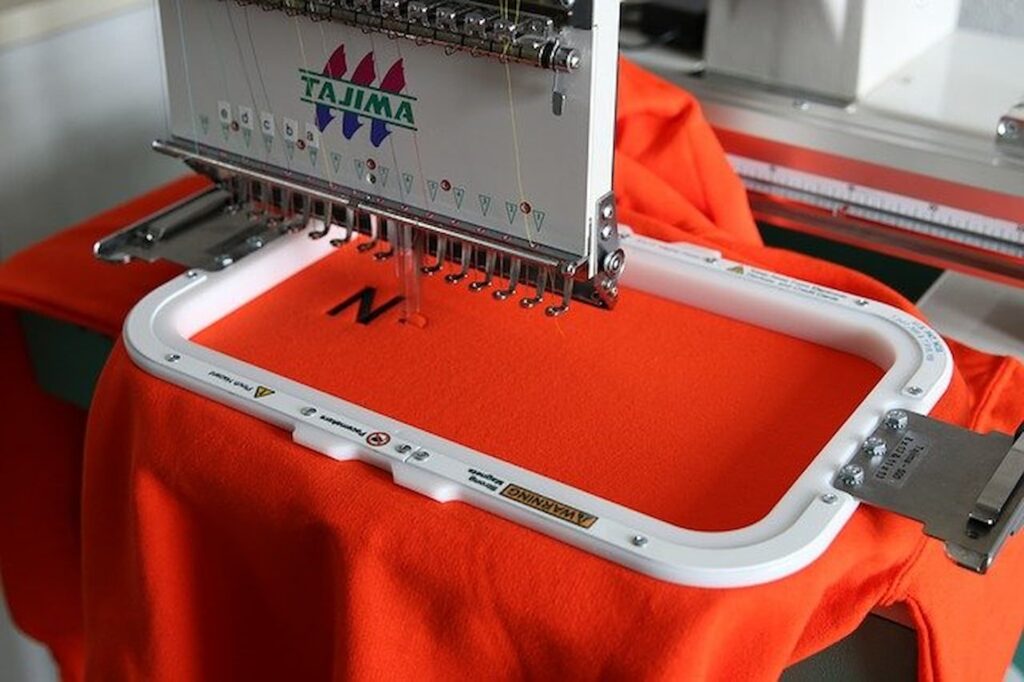
Step 5: Convert to the best Embroidery.
Once you have received the designs, carefully copy the correct format required for your embroidery machine into a USB. Then, plug your USB into the embroidery machine and feel free to use it. This will help you get the best artwork without mixing it with other formats that won’t be compatible with your machine.
Follow all the steps carefully and ensure you provide the correct information to your supplier. You will receive your desired embroidery within the proper time frame and with the best quality for yourself or your customer.
Final Words
The journey into embroidery digitising is truly transformative for any enthusiast or business owner. It represents the crucial step where graphic art becomes a tangible textile craft. By embracing our structured 5-step process, you gain complete creative control, transitioning your work from inconsistent hobby outputs to professional results that build lasting trust with clients and customers. Remember, mastering the technical triad of stitch density, underlay, and pull compensation is non-negotiable for producing a perfect stitch file and reliably avoiding common faults like gapping or fabric puckering. This expertise allows you to conquer any fabric type or complex logo design confidently. Don’t let flawed instruction files limit your powerful machine embroidery hardware. Commit to the iterative practice of digitize, sew, and adjust. This disciplined workflow is the definitive path to achieving genuine E-E-A-T in your craft, ensuring every design you create is durable, clean, and perfectly stitched.
